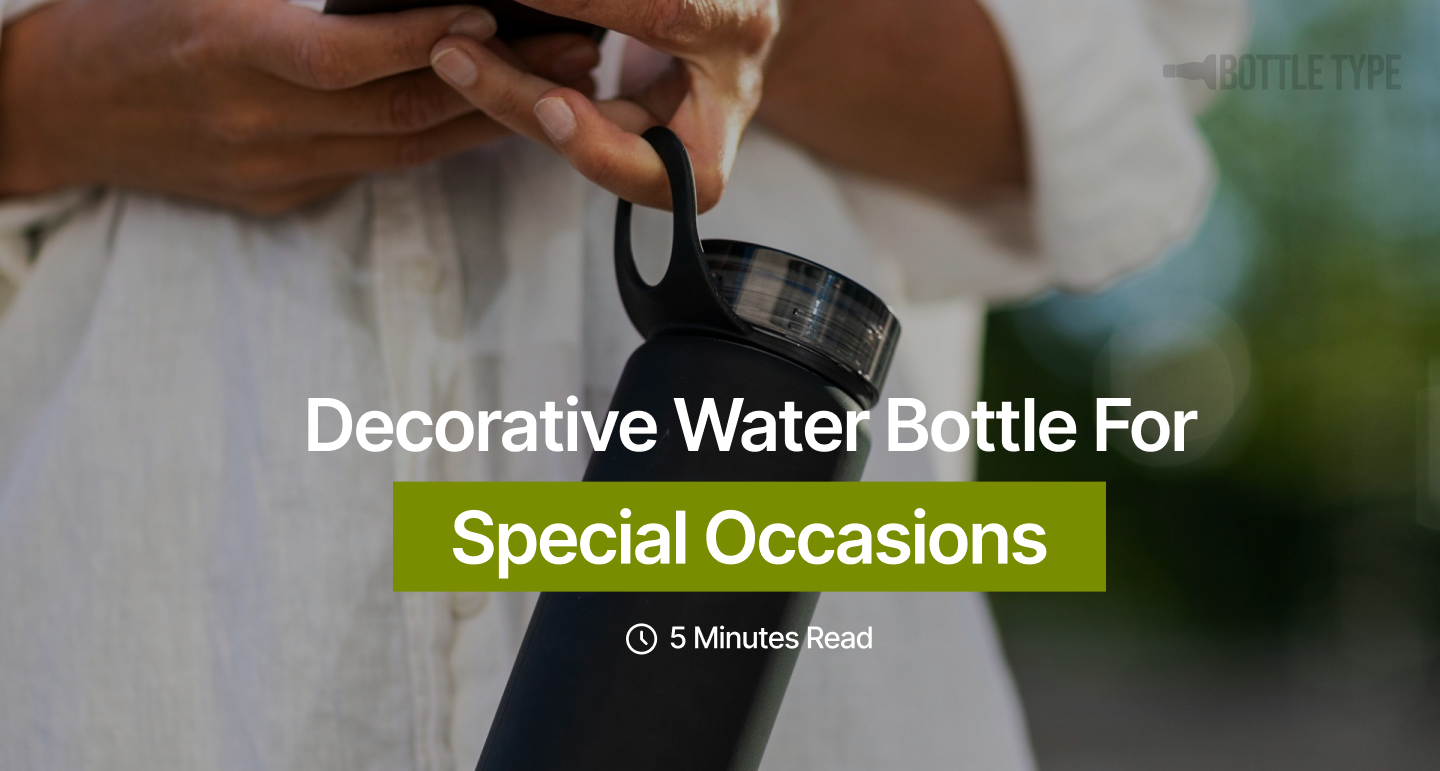
Decorative water bottles are a fantastic way to add a personal touch to special occasions. Whether you’re celebrating a birthday, wedding, or any other event, creating a customized water bottle can elevate the ambiance and make the occasion even more memorable. In this article, we will explore the process of making a decorative water bottle for special occasions, from choosing the right design to implementing creative techniques for decoration.
Key Takeaways
- Selecting a theme that resonates with the occasion can enhance the overall aesthetic.
- Gathering a variety of decorative materials allows for more creativity and customization.
- Utilizing safety precautions when decorating ensures a safe and enjoyable crafting experience.
- Adding personal touches to the water bottle design can make it unique and meaningful.
- Experimenting with different techniques like painting, decoupage, and collage can result in stunning decorative effects.
Choosing the Right Water Bottle Design
Selecting a Theme
When I set out to create a decorative water bottle, the first step I take is to select a theme that resonates with the occasion. This theme will guide every other decision I make, from the colors to the patterns and even the materials I’ll use. For instance, if I’m preparing for a wedding, I might consider elegant scripts and motifs that reflect the couple’s style. I recently came across the URROMA Wedding Water Bottle Labels, which boasted quality material and exquisite workmanship, inspiring me to aim for a similar standard in my own creations.
Next, I brainstorm a list of potential themes. I think about the recipient’s interests, the event’s atmosphere, and any meaningful symbols that could be incorporated. For example, for a child’s birthday party, I might explore ideas like the 21 sensory bottles DIY, which are not only fun but also offer a delightful sensory experience. Here’s a quick list of themes I’ve considered in the past:
- Nature-inspired: Leaves, flowers, and earthy tones
- Nautical: Anchors, stripes, and shades of blue
- Personalized: Using Cricut fonts for names or special messages
- Seasonal: Snowflakes for winter, suns for summer
Choosing the right theme is a creative process that sets the tone for the entire project. It’s about finding that perfect balance between personal taste and the intended ambiance of the special occasion.
Considering the Occasion
When I think about decorating a water bottle for a special event, the occasion itself greatly influences my choice of design. For instance, a child’s birthday party might call for bright colors and playful motifs, while a corporate event would require a more sophisticated approach. It’s essential to match the water bottle’s aesthetic to the event’s tone to ensure it enhances the overall experience.
Here’s a quick list of occasions and the corresponding design suggestions:
- Children’s Birthdays: Cartoon characters, vibrant patterns
- Sweet 16: Boho chic, pastel colors
- Corporate Events: Sleek lines, company logo
- Weddings: Elegant script, monograms
- Sports Events: Team colors, motivational quotes
Choosing the right material for the bottle is also crucial. For a durable and kid-friendly option, I might opt for a stainless steel bottle for a child’s party. On the other hand, a glass bottle could add a touch of class to a more formal gathering. It’s all about finding the perfect balance between practicality and style to make the occasion memorable.
Exploring Creative Designs
When I set out to explore creative designs for my water bottle, I’m often inspired by the myriad of ideas available online. For instance, I stumbled upon a resource that listed over 21 creative and easy plastic bottle craft ideas, which opened my eyes to the potential of simple materials. These crafts not only looked beautiful but were also functional, turning everyday items into treasures.
I also discovered that decorating water bottles can be a delightful activity for enhancing skills. A particular craft kit I found was perfect for girls who love glitter and gems. It emphasized the importance of good design planning and how peeling and sticking glittery gem stickers could improve concentration and creativity.
Lastly, I was amazed by the compilation of 27 easy plastic bottle crafts. It’s incredible how old plastic bottles can be transformed into home decor and fun crafts. This discovery made me realize that with a bit of imagination, I could turn trash into treasure, creating something truly unique for any special occasion.
Materials and Tools for Decoration
Gathering Decorative Materials
When I set out to create a decorative water bottle, the first step is to gather all the necessary materials. I start by choosing a theme, which recently led me to a delightful project: Wine and Music. Inspired by an idea from MO Wines, I decided to wrap my bottles in sheet music, creating a whimsical decoration that perfectly pairs with the theme.
For a more sustainable approach, I follow the guidance of Supabottle, collecting clean and empty water bottles, along with scissors, a craft knife, and optional acrylic paint. I also pick out decorative elements like ribbon or twine to add that extra flair. Here’s a quick list of what I’ve gathered:
- Clean and empty water bottles
- Scissors and craft knife
- Acrylic paint (optional)
- Decorative elements (e.g., ribbon, twine)
Lastly, I explore the art of decoupage, as suggested on Quora. I cut out interesting images or patterns from magazines or napkins and use decoupage glue to adhere them to the bottles. This technique allows for a personalized touch and can transform a simple bottle into a piece of art.
Essential Tools for Decorating
Once you’ve gathered your decorative materials, it’s time to talk about the essential tools for decorating. Having the right tools at your disposal is crucial for achieving the best results and ensuring your decorative water bottle stands out. For instance, I use a basic tool kit that includes a hook for precise placement of decorations, especially when working with vinyl sheets for water bottles or tumblers.
Here’s a list of tools that I find indispensable:
- Precision scissors for cutting intricate designs
- A variety of brushes for painting, both fine and broad-tipped
- Adhesive applicators, such as glue guns or double-sided tape
- A hook tool for vinyl placement, like the one from the Sooez basic tool kit
- Mod Podge or a similar sealant for decoupage projects
Remember, safety is paramount when decorating. Always use tools according to their instructions and keep sharp objects out of reach if children are participating in the crafting process. With these tools in hand, you’re ready to move on to the exciting part: bringing your creative designs to life!
Safety Precautions
After ensuring that all safety precautions are in place, I’m ready to dive into the creative process. It’s crucial to choose materials that are not only beautiful but also safe. I always opt for BPA free plastics when selecting bottles, as they are safer for everyone, especially when creating personalized water bottles for children. The less plastic I use, the better it is for health and the environment.
For the actual decoration, I like to start with a clean slate. I make sure the water bottle is thoroughly cleaned and dried before beginning any work. This is where my gathered materials and tools come into play. I lay them out neatly, so everything is within reach. Here’s a quick checklist of what I prepare:
- Non-toxic, waterproof paint
- Brushes and sponges
- Decorative elements like stickers, beads, or sequins
- Protective gloves and apron
Finally, I keep in mind that the water bottle will be used during special events, like a Field Day, where it’s essential to stay hydrated. The bottle not only needs to look good but also function well. I take pride in handcrafting something that will be a part of someone’s special day, ensuring it’s both aesthetically pleasing and practical.
Techniques for Decorating the Water Bottle
Painting and Embellishing
Once I’ve selected the perfect water bottle to decorate, I find that painting and embellishing it can truly bring my vision to life. I start by considering the overall aesthetic I want to achieve. For instance, I might opt for a gradient painting technique to add depth and dimension, reminiscent of the ombre styles I’ve seen in various DIY projects.
To ensure a flawless finish, I prepare the surface of the glass meticulously. I’ve learned that using Mod Podge can be incredibly effective, especially when working with glass. It’s crucial to apply a base coat to help the paint adhere better and to prevent peeling or chipping later on. After the base coat dries, I apply my chosen colors, sometimes layering different hues to create a complex, eye-catching effect.
Here’s a quick list of the steps I follow when painting and embellishing my water bottle:
- Clean the bottle thoroughly.
- Apply a base coat if necessary.
- Choose and mix paints.
- Paint the base layer and let it dry.
- Add additional layers or designs.
- Seal with a top coat for durability.
This process can be adapted for kids’ crafts as well, using plastic bottles and simpler designs that they can enjoy. It’s a wonderful way to spend time together while creating something beautiful and functional.
Decoupage and Collage
After selecting the perfect water bottle to adorn, I find that decoupage and collage offer a unique way to infuse personality and style. Decoupage is not just about gluing paper onto an object; it’s an art form that allows for a creative storytelling on the surface of your bottle. I start by cutting up pieces of soft, flexible paper, as recommended in ‘3 Ways to Decoupage – wikiHow’. The process is simple yet impactful: clean the surface, apply the paper, and seal it with a decoupage medium.
For a more durable finish, especially if the bottle will be used outdoors, I turn to products like ‘Mod Podge Outdoor’. This ensures that my creation is not only beautiful but also waterproof. The joy of decoupage is in the layering, combining different patterns and images to build a narrative that’s personal to the occasion. Here’s a quick list of steps I follow:
- Select images and patterns that resonate with the theme
- Prepare the water bottle by cleaning it thoroughly
- Cut the paper into desired shapes and sizes
- Apply a thin layer of decoupage medium to the bottle
- Place the paper onto the bottle, smoothing out any bubbles
- Seal with multiple coats of decoupage medium, allowing it to dry between coats
The result is a water bottle that’s not just a container, but a piece of art that celebrates the special occasion with every sip.
Adding Personal Touches
After meticulously decorating my water bottle, I find that adding personal touches truly makes it unique. Incorporating elements that reflect my personality or the recipient’s character can transform a simple water bottle into a memorable keepsake. For instance, I often turn to Etsy for inspiration, where personalized engraved water bottles come with a variety of fonts to choose from, ensuring that each creation stands out.
For special occasions like graduations, I like to add a celebratory flair. Amazon offers personalized graduation water bottle labels that are designed to match the decor of high school or college senior parties. It’s a thoughtful way to honor the graduate’s milestone. Similarly, for my daughter’s graduation party, I found that custom labels from Etsy added the perfect personal touch, making the event even more special.
Here’s a quick list of ideas to personalize your water bottle:
- Engrave with a name or special date
- Add a meaningful quote or message
- Choose a design that resonates with the occasion
- Use colors that the recipient loves
Remember, the goal is to create something that not only looks beautiful but also holds sentimental value.
Conclusion
In conclusion, creating a decorative water bottle for special occasions is a fun and creative way to add a personal touch to your event. By following the steps outlined in this article, you can customize a water bottle that reflects the theme and style of your special occasion. Whether it’s a wedding, birthday party, or any other celebration, a decorative water bottle can serve as a unique and memorable keepsake for your guests. So, unleash your creativity and make your next event even more special with a personalized decorative water bottle!
Frequently Asked Questions
Is it safe to drink from a decorated water bottle?
Yes, as long as the decoration materials used are non-toxic and safe for consumption.
Can I wash a decorated water bottle?
Yes, you can hand wash a decorated water bottle with mild soap and water. Avoid soaking it for prolonged periods.
How long does it take to decorate a water bottle?
The time taken to decorate a water bottle varies based on the complexity of the design and the techniques used. It can range from a few hours to a day.
Can I use a decorated water bottle for hot beverages?
It is not recommended to use decorated water bottles for hot beverages, as the heat may damage the decoration and affect the safety of the bottle.
Are there specific types of paint suitable for decorating water bottles?
Yes, acrylic paint and enamel paint are commonly used for decorating water bottles. Make sure to choose paints that are safe for the intended use.
How can I seal the decorations on the water bottle to make them last longer?
You can use a clear sealant spray or varnish to protect the decorations on the water bottle and make them more durable.
Recent Posts
Bottle Carrier Crafting Crafting your own bottle carrier brings a sense of creativity and practicality to your outdoor adventures. Whether you're going hiking, biking, or simply enjoying a day at...
Never Lose Your Water Bottle Again: Must-Try Holder Patterns Revealed
Crafting Your Own Water Bottle Holder Crafting your own water bottle holder is a practical and fun DIY project that can enhance your outdoor activities. Whether you enjoy hiking, camping, or simply...